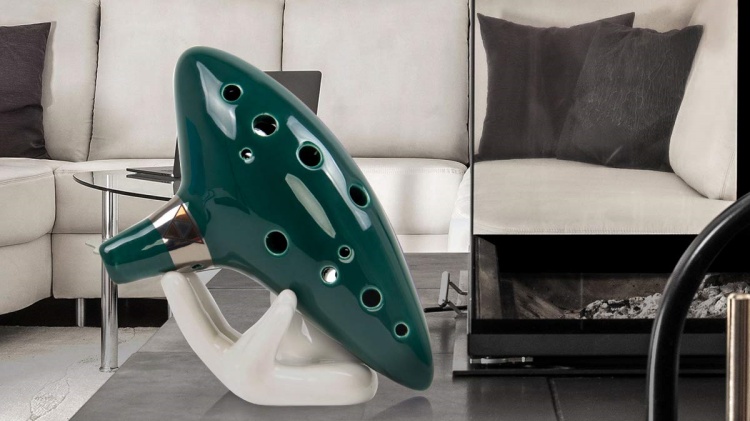
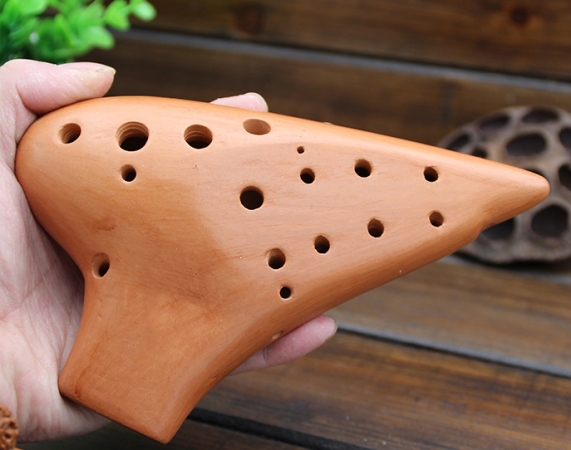
Exploring the Mystical Sounds: The World of the Ocarina
The ocarina is an ancient wind instrument known for its otherworldly and evocative sound. With a history spanning over 12,000 years across cultures worldwide, the

The enchanting melodies of an ocarina have the power to transport us to distant realms and evoke emotions like no other instrument.
However, there are moments when your ocarina’s notes may sound a bit too airy, lacking the richness and resonance you desire.
Fret not, for in this comprehensive guide, we will delve into the art of fixing an airy ocarina.
Get ready to breathe life into your musical companion as we explore the secrets of restoring its melodious charm.
Before we dive into solutions, let’s uncover the underlying reasons behind those airy ocarina notes.
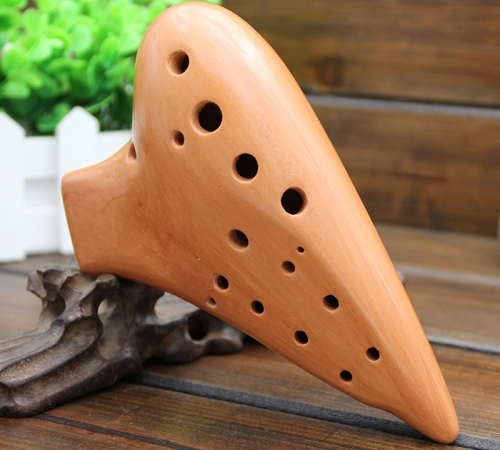
Your ocarina’s airy notes might stem from airflow obstructions within its delicate structure.
These obstructions can manifest as blockages in the windway, tiny debris, or even subtle design flaws that affect how air moves through the instrument. Identifying these issues is the first step in bringing back the full, resonant tones you love.
Airflow obstructions are like musical roadblocks. They disrupt the smooth flow of air within your ocarina, causing notes to sound weaker and more diffuse.

To identify these obstructions, you’ll need to perform a thorough inspection.
Begin by gently disassembling your ocarina, if possible. Take care not to damage any components during this process.
Once you have access to the interior, use a soft, lint-free cloth or a small brush to clean the windway and voicing.
Look for any foreign particles, dust, or moisture that may be obstructing the airflow. These tiny intruders can significantly impact the quality of your ocarina’s sound.
If cleaning the windway and voicing doesn’t resolve the issue, it’s time to explore further. Examine the ocarina’s design for any anomalies that might affect airflow.
Sometimes, ocarinas may have subtle design flaws that hinder their performance. These flaws can include irregular chamber shapes or poorly placed subholes.
While you may not be able to change the ocarina’s design, identifying these issues can help you understand the source of the airy sound.
To address airy notes effectively, it’s essential to understand how sound is produced within your ocarina.
Delve into the mechanics of airflow, air pressure, and how the shape and size of the instrument impact the resulting sound. This knowledge will empower you to pinpoint the source of the issue.
When you play an ocarina, you’re essentially manipulating the flow of air to produce different pitches. The airflow travels through the windway and strikes the voicing, creating vibrations that generate sound.
If there are disruptions in this airflow or if the voicing isn’t functioning correctly, you’ll encounter airy notes.
To visualize this process, imagine the windway as a narrow tunnel and the voicing as a reed-like structure. When you blow air into the windway, it flows over the voicing, causing it to vibrate.
These vibrations create sound waves, and the pitch is determined by the size and shape of the chamber.
If the windway is blocked or if there are irregularities in the voicing, the airflow becomes turbulent, resulting in airy, weak notes.
Understanding this fundamental principle will guide you in diagnosing and rectifying the issue.
Now that we know the “why,” let’s explore the “how” of rectifying airy ocarina notes.
One of the most common culprits behind airy ocarina notes is the presence of foreign particles or moisture. Learn how to clean both the interior and exterior of your ocarina with precision. Discover the art of removing potential obstacles that hinder airflow, ensuring that your instrument sings crisply once more.
Cleaning your ocarina is like giving it a refreshing breath of air. Regular maintenance not only keeps your instrument looking pristine but also ensures that it produces the best possible sound.
Here’s a step-by-step guide to cleaning your ocarina:
By keeping your ocarina clean and free from obstructions, you can significantly improve its sound quality. Regular cleaning is a simple yet effective way to maintain your instrument’s performance.
To fine-tune your ocarina and restore its melodious richness, we’ll guide you through the process of calibration and adjustment.
Understand how to tweak various components of your ocarina, such as the voicing, subholes, or chamber size, to optimize airflow and achieve a vibrant, less airy sound.
It’s a delicate process that requires attention to detail, but the results are worth it.
Calibration and adjustment are like the final tuning of a musical instrument. These precise tweaks can transform your airy ocarina into a harmonious masterpiece. Here’s a step-by-step guide:
Calibrating and adjusting your ocarina requires a keen ear and a gentle touch. It’s a process of trial and error, so don’t be discouraged if it takes some time to achieve the perfect sound.
With practice and persistence, you can transform your airy ocarina into a melodious masterpiece that resonates with clarity and depth.
Sometimes, it’s best to leave it to the experts. Let’s discuss when to seek professional help for your ocarina.
For complex issues or if you’re unsure about your DIY skills, we recommend reaching out to skilled ocarina artisans.
These experts possess the knowledge and experience to diagnose and address intricate problems that might be causing airy notes.
They can also fine-tune your ocarina to perfection, ensuring its melodies resonate with warmth and clarity.
Ocarina artisans are like musical doctors who specialize in healing and enhancing the soul of your instrument. When you encounter persistent airy notes or if you want your ocarina to reach its full potential, it’s time to consult these skilled professionals.
Here’s how to go about it:
Professional ocarina artisans have a deep understanding of the instrument’s intricacies and nuances.
They can diagnose problems that may elude amateur musicians and implement precise solutions. While their services come at a cost, the result is an ocarina that sings with unparalleled clarity and beauty.
In the world of music, the ocarina holds a special place as a vessel for transporting us to realms of imagination.
When its notes turn airy, it’s like a gust of wind that disrupts the melody. But fear not! Armed with knowledge and the right techniques, you can restore your ocarina’s soulful sound. So, embark on this melodious journey, fix that airy ocarina, and let your music soar once more!
In the end, an airy ocarina is not a lost cause; it’s a canvas waiting for your skilled touch to bring back its full, melodious potential.
With a little care and attention, you can transform it into a harmonious masterpiece that enchants hearts and souls.
Your journey to fixing an airy ocarina is not just about resolving a musical issue; it’s about deepening your connection with this magical instrument.
As you explore its inner workings, clean its passages, and fine-tune its voice, you’ll discover a world of sound waiting to be unleashed.
So, take the first step, and let your ocarina sing with the clarity and beauty it was meant to deliver. The melodies you create will be a testament to your dedication and the timeless allure of the ocarina.