Exploring the Mystical Sounds: The World of the Ocarina
The ocarina is an ancient wind instrument known for its otherworldly and evocative sound. With a history spanning over 12,000 years across cultures worldwide, the

Are you ready to embark on a whimsical journey into the world of Ocarina? Crafting your very own Ocarina is not only a creative endeavor but also a delightful way to summon melodies that resonate with your soul.
In this comprehensive guide, we’ll delve into the art of making Ocarinas from scratch, ensuring you have the skills to create your unique musical masterpiece. So, grab your apron and let’s shape some clay!
Before we get our hands dirty, let’s understand the fundamentals of Ocarinas.
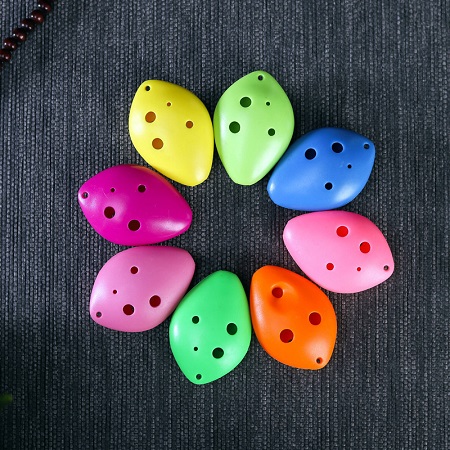
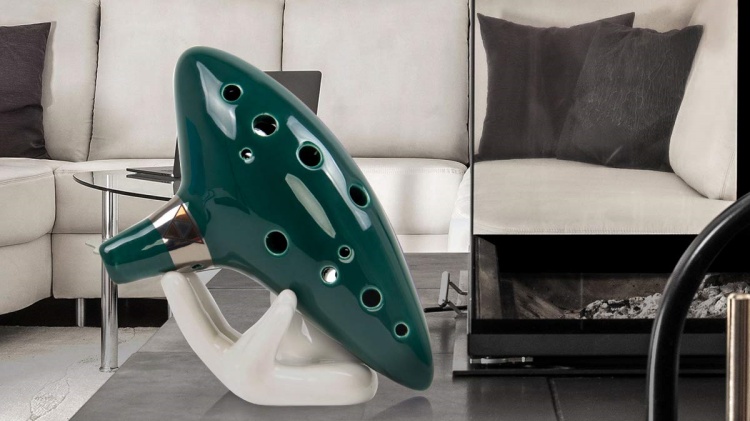
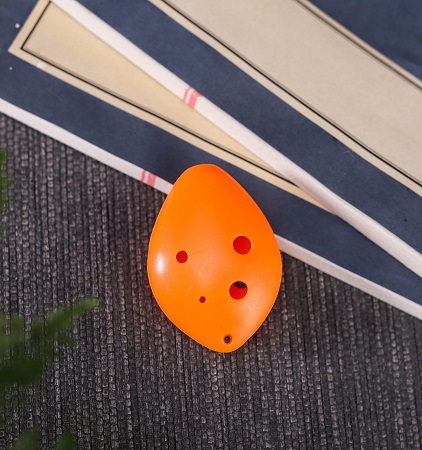
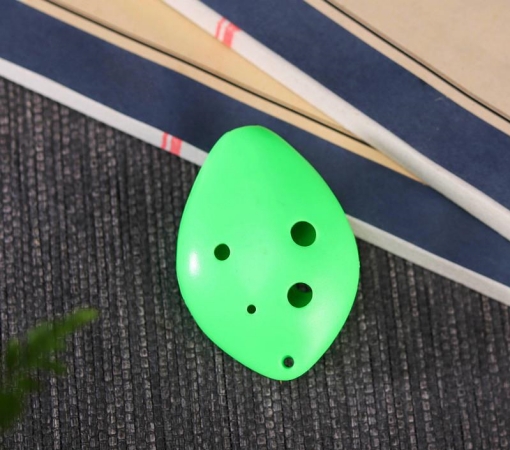
These charming instruments typically consist of a spherical body with precisely placed finger holes and a mouthpiece. The placement and size of these holes are crucial for achieving the desired sound.
Here is the crafting process for you:
Now that you have a beautifully crafted Ocarina, it’s time to give it a voice and personality.
To achieve precise tuning, digital tuners are invaluable tools. Here’s how to use them:
Play a note on your Ocarina.
Observe the tuner’s display. It will indicate whether the note is sharp or flat.
Make adjustments by carefully altering the size of the sound holes. If the note is sharp, enlarge the corresponding hole slightly. If it’s flat, reduce the hole’s size incrementally.
Repeat this process for each note until your Ocarina is perfectly in tune.
If you want to add intricate patterns and designs to your Ocarina, consider the following steps:
Sketch your desired pattern lightly on the surface of the Ocarina using a pencil. Ensure the design aligns with your vision.
Use fine carving tools or needle tools to carefully carve the pattern into the clay. Take your time to maintain precision.
After carving, apply glaze to the surface, ensuring it covers the patterned area.
Fire the Ocarina in the kiln as usual. The final result will showcase your beautifully decorated Ocarina.
With your Ocarina ready, it’s time to take the stage!
Before we conclude this guide, let’s explore some essential considerations when making an Ocarina:
Congratulations! You’ve ventured into the enchanting world of Ocarina crafting and now possess the skills to make your own musical masterpiece.
Remember, each Ocarina tells a unique story through its melodies. So, let your imagination soar as you explore the limitless possibilities of this delightful instrument. Happy crafting, Ocarina maestro!
Whether you’re crafting Ocarinas for your own pleasure or to share with others, the journey of creating this enchanting instrument is a rewarding one.
So go ahead, shape the clay, fire your passion, and let the melodies of your handcrafted Ocarina fill the air with magic.
Your Ocarina-making adventure has just begun, and there’s a world of melodies waiting to be played. Enjoy every moment of it!
FAQ 1: Can I Use Any Type of Clay for Making an Ocarina?
While various types of clay can be used to make an Ocarina, the choice of clay significantly impacts the instrument’s sound and appearance.
Porcelain clay, for example, produces a bright sound, while stoneware clay offers a warmer tone. It’s essential to consider the tonal qualities you desire when selecting your clay.
FAQ 2: How Do I Prevent Cracks During the Firing Process?
To avoid cracks during firing, ensure that your Ocarina dries slowly and evenly. Rushing the drying process can lead to cracks. Additionally, when firing in a kiln, follow the recommended temperature and duration guidelines for the specific type of clay and glaze you’re using. Proper kiln operation is crucial to a successful firing.
FAQ 3: Are There Any Safety Precautions I Should Take When Working with Glaze?
Yes, safety is paramount when working with glaze. Always wear appropriate protective gear, including gloves and a mask, especially when handling glaze chemicals.
Work in a well-ventilated space to minimize exposure to fumes. Additionally, carefully read and follow the manufacturer’s instructions for handling and applying glaze.
FAQ 4: How Can I Ensure Consistent Hole Sizes on My Ocarina?
Consistency in hole sizes is essential for proper tuning. Use a hole measuring tool to maintain uniformity in hole dimensions.
If your Ocarina has multiple holes of the same size, this tool ensures they are identical, contributing to accurate tuning.
FAQ 5: Can I Customize the Sound of My Ocarina Further After Tuning?
Certainly! After tuning, you can further customize the sound by experimenting with different finger placements and techniques while playing.
Different fingerings can produce variations in tone and timbre. Don’t be afraid to explore and refine your Ocarina’s sound even after it’s been tuned.