Exploring the Mystical Sounds: The World of the Ocarina
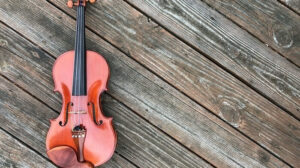
The ocarina is an ancient wind instrument known for its otherworldly and evocative sound. With a history spanning over 12,000 years across cultures worldwide, the

Are you ready to embark on a whimsical journey into the world of crafting your very own plastic Ocarina?
Making a plastic Ocarina is not only a fun and creative endeavor but also a delightful way to summon melodies that resonate with your soul.
In this comprehensive guide, we’ll delve into the art of making plastic Ocarinas from scratch, ensuring you have the skills to create your unique musical masterpiece. So, grab your materials and let’s shape some music!
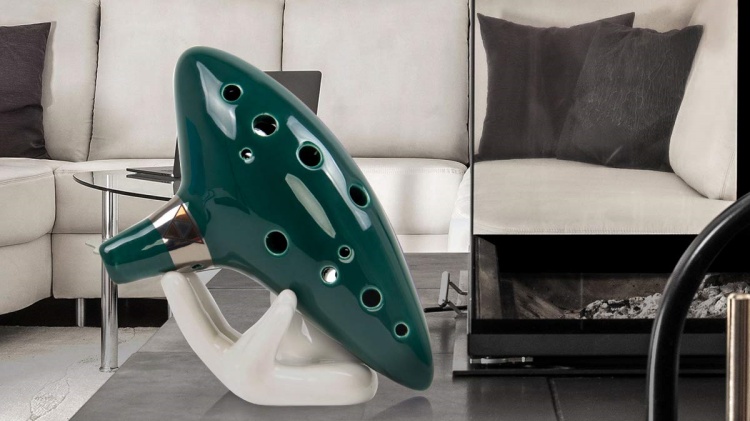
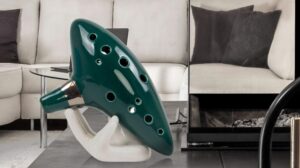
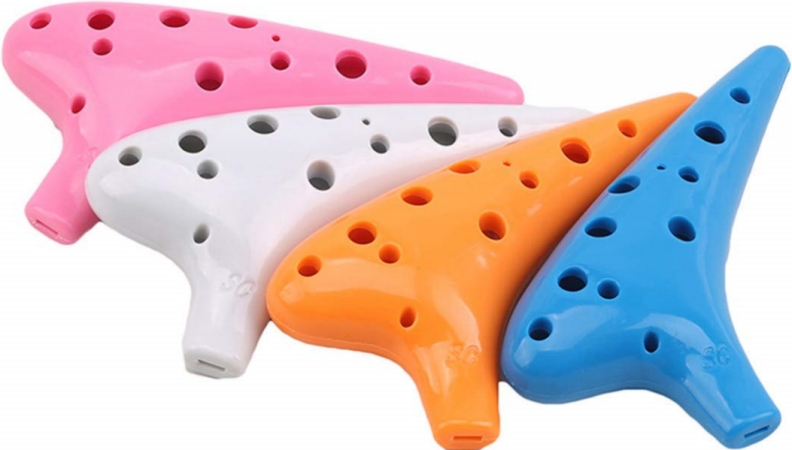
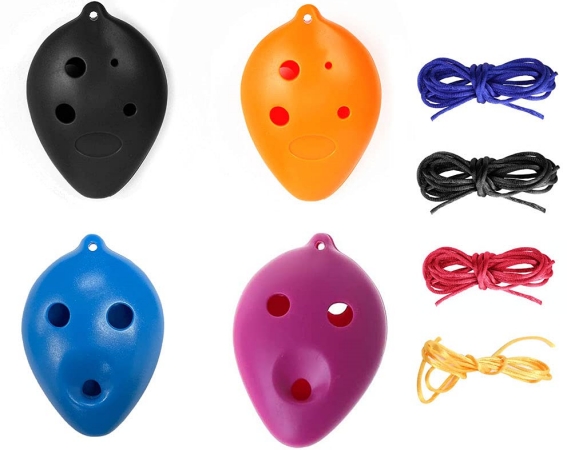
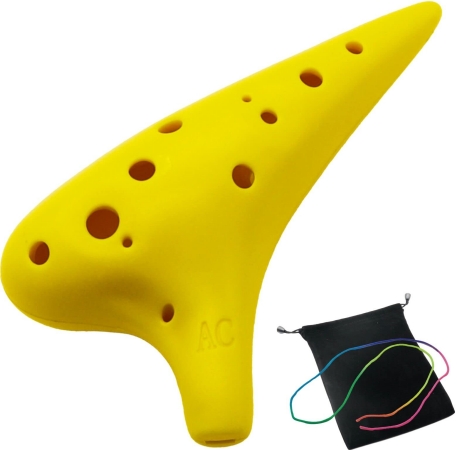
The plastic Ocarina, a modern twist on the traditional ceramic Ocarina, offers a versatile and durable option for music enthusiasts.
Its history and origin trace back to the desire for a more accessible and portable musical instrument.
Plastic Ocarinas have gained popularity for their vibrant tones and playability, standing in contrast to the more fragile and delicate nature of the normal Ocarina.
The concept of the Ocarina dates back centuries, with early versions crafted from clay.
However, as musical enthusiasts sought more portable options, the plastic Ocarina emerged. Its lightweight and durable nature made it a practical choice for musicians of all levels.
The term “Ocarina” itself has an interesting etymology.
It is derived from the Italian word “ocarina,” meaning “little goose.” This whimsical name captures the unique shape of this musical instrument, often resembling a small bird.
One of the key reasons for the rise of plastic Ocarinas is their affordability and accessibility.
Traditional ceramic Ocarinas can be fragile and expensive, while plastic Ocarinas offer a cost-effective alternative without compromising on musical quality.
The choice of plastic as the primary material for crafting Ocarinas opens up a world of possibilities for musicians.
It allows for experimentation with different types of plastic, each offering its distinct sound characteristics. This versatility is a significant advantage for those who seek to craft their own personalized Ocarina.
Crafting your plastic Ocarina allows you to explore your creativity and musical talents. It’s a hands-on experience that not only results in a unique instrument but also offers the following benefits:
When you create a plastic Ocarina, you’re not just making an instrument; you’re crafting memories and moments.
The melodies that flow from your handcrafted Ocarina will be a testament to your creativity and dedication.
Whether you’re an experienced musician or a beginner, the process of crafting and playing your plastic Ocarina is a rewarding journey.
Choosing the right plastic pipe is crucial for your Ocarina’s sound quality. Consider experimenting with different types of plastic to find the one that resonates with your musical preferences.
PVC pipes, commonly used for plumbing, are readily available and suitable for crafting plastic Ocarinas. However, other plastics may offer unique tonal characteristics that you can explore.
Here is the crafting process:
With your plastic Ocarina ready, it’s time to take the stage!
Congratulations! You’ve ventured into the enchanting world of crafting plastic Ocarinas and now possess the skills to make your own musical masterpiece.
Each plastic Ocarina tells a unique story through its melodies. So, let your imagination soar as you explore the limitless possibilities of this delightful instrument. Happy crafting, plastic Ocarina maestro!
Is crafting a plastic Ocarina suitable for beginners?
Absolutely! Crafting a plastic Ocarina can be an excellent starting point for beginners. The materials are readily available and affordable, making it an accessible project. Plus, it’s a fun way to explore the world of music while honing your craftsmanship skills.
Can I customize the sound of my plastic Ocarina further after tuning?
Indeed, you can! After tuning your plastic Ocarina, you have the freedom to experiment with different finger placements and techniques while playing. This experimentation can lead to variations in tone and timbre, allowing you to craft a unique musical experience.
How do I clean and maintain my plastic Ocarina?
Cleaning your plastic Ocarina is relatively simple. Use a damp cloth to wipe the exterior, and if needed, you can disassemble it for a more thorough cleaning. Be cautious not to expose it to extreme temperatures, as plastic may deform. Regular maintenance involves checking for air leaks around sound holes and resealing if necessary.
What are the advantages of using plastic over ceramic for Ocarina crafting?
Plastic Ocarinas offer several advantages, including durability, affordability, and versatility. Plastic Ocarina is less fragile than ceramic Ocarina, making it ideal for everyday use. It’s also cost-effective, allowing you to experiment with multiple Ocarinas. Additionally, plastic’s versatility enables you to explore various types for unique tonal qualities.
Can I create complex decoration patterns on my plastic Ocarina?
Certainly! You have creative freedom when it comes to decorating your plastic Ocarina. You can sketch intricate patterns or designs on its surface and use fine carving tools to bring your vision to life. After carving, apply glaze for added beauty and then fire your Ocarina as usual. The result will be a beautifully decorated musical masterpiece.