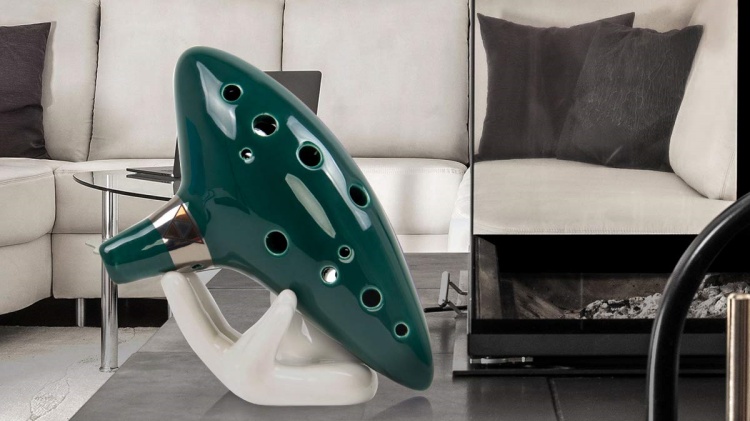
Exploring the Mystical Sounds: The World of the Ocarina
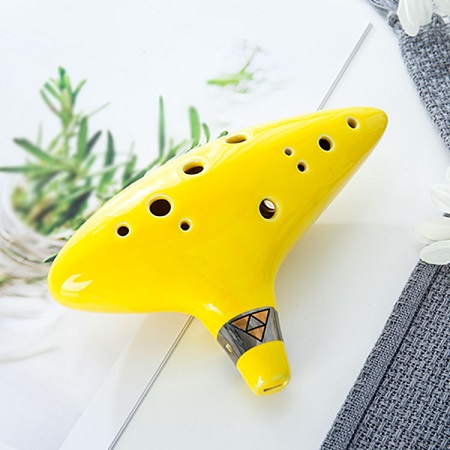
The ocarina is an ancient wind instrument known for its otherworldly and evocative sound. With a history spanning over 12,000 years across cultures worldwide, the

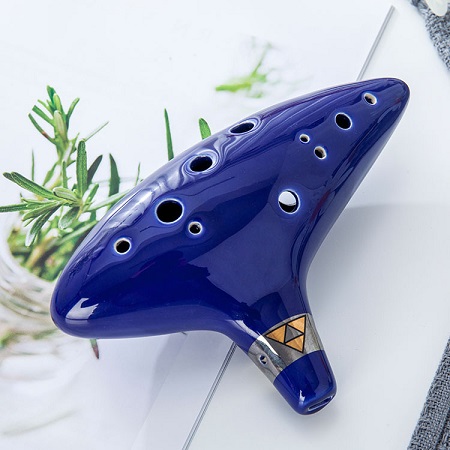
Imagine your ocarina not just as a musical instrument, but as a canvas for your creativity. Decorating your ocarina goes beyond aesthetics; it’s an intimate process of infusing your personality into this charming wind instrument.
This guide aims to lead you through the satisfying journey of transforming your ocarina into a visually captivating and personally significant musical artifact.
Ornamenting an ocarina is a deeply personal artistic expression. It’s about creating a unique identity for an instrument that often holds a special place in the heart of the musician.
This process allows you to express your individuality, making the ocarina a reflection of your artistic journey and personal story.
The act of decorating your ocarina is not just a creative endeavor; it’s a way of connecting more profoundly with your instrument, fostering a deeper bond between musician and music.
The ocarina, with its simple yet enchanting sound, becomes an extension of your personality, carrying not just melodies but the essence of your creative spirit.
Here are the artistic tools needed:
The design stage is where your creativity and imagination take the spotlight.
Whether you’re inspired by bold, vibrant colors or prefer subtle, understated hues, your design should reflect your personal taste and make your ocarina uniquely yours.
This is the time to sketch out your ideas, and maybe take inspiration from nature, art, or even your favorite songs. Think about themes that resonate with you—perhaps floral patterns, celestial bodies, abstract shapes, or cultural motifs.
Remember, this design is a reflection of your inner world and creativity, so let it flow freely.
Consider creating a mood board with colors, patterns, and themes that inspire you, helping to visualize the final look of your ocarina.
Before you start painting, it’s crucial to prepare your ocarina. Start by thoroughly cleaning your ocarina to ensure a surface conducive to painting.
Use a gentle, non-abrasive cleaner to avoid damaging the ocarina. Then, use sandpaper to smooth the surface of the ocarina.
This important step removes any imperfections and creates a receptive base for your paints. Wipe away any dust from sanding and ensure the ocarina is completely dry before proceeding to the next step.
This preparatory stage is key to achieving a smooth and even application of paint, ensuring that your artistic vision is perfectly translated onto the instrument.
Now, it’s time to bring your vision to life. Use your chosen paints and brushes to carefully apply your design. Whether opting for intricate patterns or minimalistic styles, this is where your ocarina starts to reflect your artistic flair.
Explore different decorative techniques, like dot painting for a fun effect or textures for added depth. Remember to let each layer of paint dry before applying the next, ensuring crisp, clear designs.
This is an opportunity to infuse your ocarina with creative elements that are uniquely yours. Don’t hesitate to experiment with different styles and techniques.
For instance, sponging can create a textured, layered effect, while thin brushes can be used for detailed line work or intricate patterns.
The goal is to let your artistic intuition guide you, creating a design that’s both personal and harmonious with the ocarina’s shape and sound.
After your design is complete and the paint is dry, it’s time to apply the varnish. The application of varnish is a crucial step in the decoration process. It serves as a protective layer for your artwork, ensuring its longevity and adding an elegant, glossy finish.
Apply the varnish evenly, and allow ample time for it to dry completely. This step not only protects your design but also enhances the overall look of your ocarina, giving it a professional finish.
When choosing a varnish, consider a non-yellowing type to ensure that the colors stay true over time. This final layer is vital in sealing your artwork, protecting it from wear and tear, and making your creation durable and resilient.
Once the varnish is completely dry, it’s time to put your ocarina back together, if it was disassembled for the painting process. This step is significant, as you’re reassembling not just an instrument, but a piece of art that is a reflection of you.
Take this moment to appreciate the work you’ve put into this project and the beautiful transformation of your ocarina.
This reassembly is not just a physical process but a symbolic one, marking the completion of a journey where you’ve imbued a part of yourself into your musical companion.
In conclusion, each step in the process of decorating your ocarina contributes to creating a musical companion that is not only visually appealing but also resonates with your personal narrative.
Your newly decorated ocarina is more than just an instrument; it’s a testament to your creativity, a piece of art you’ve crafted with your hands, and a musical companion that uniquely represents you.
As you play your personalized ocarina, you’ll not only enjoy its melodious tunes but also the personal touch you’ve added, making each note even more special.
The process of ornamenting your ocarina is a deeply fulfilling journey, intertwining the joys of music and art, and culminating in an instrument that not only plays beautiful music but also tells your unique story.
This guide hopefully has inspired you to embark on this creative adventure, adding a personal touch to your musical journey and making your ocarina a true reflection of your artistic spirit.
Can I use any type of paint on my ocarina?
While you have creative freedom in choosing colors and patterns, it’s important to use paints specifically suited for the material of your ocarina. Acrylic paints are often a good choice as they adhere well to most surfaces and offer a wide range of colors. Ensure the paint is non-toxic and suitable for use on musical instruments.
How can I ensure my painted design lasts a long time?
To preserve your design, apply a clear, protective varnish after the paint dries. This not only protects the paint from chipping and wear but also adds a professional finish. Choose a varnish that is non-yellowing to maintain the true colors of your design over time.
Is it necessary to disassemble my ocarina for painting?
Disassembly is not always necessary, but it can make the painting process easier, especially for intricate designs. If you do disassemble your ocarina, make sure you’re comfortable with reassembling it correctly. If in doubt, paint the ocarina as a whole to avoid any potential damage.
What should I do if I make a mistake while painting?
If you make a mistake, don’t worry. You can usually wipe off the wet paint or, if it’s already dry, gently sand it off and repaint the area. Remember, the process is about creativity and personal expression, so imperfections can also add character to your design.
Can I still play my ocarina regularly after decorating it?
Absolutely! The decoration process does not affect the sound quality of your ocarina, provided the paint and varnish are applied correctly and the sound holes are not obstructed. Once the varnish is fully dry, your ocarina is ready to be played and enjoyed with its new, personalized look.