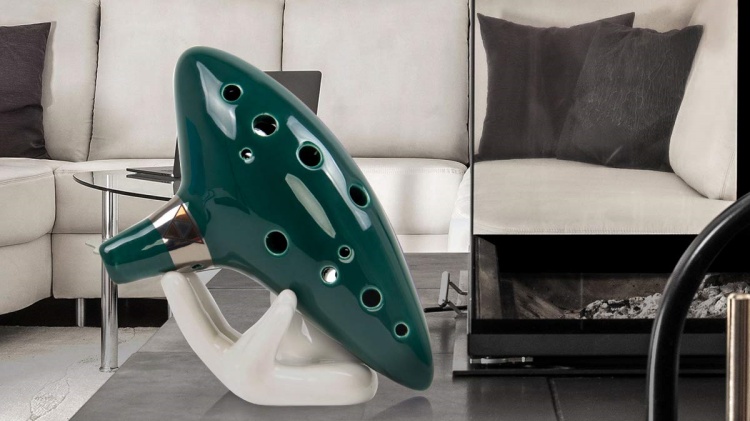
Exploring the Mystical Sounds: The World of the Ocarina
The ocarina is an ancient wind instrument known for its otherworldly and evocative sound. With a history spanning over 12,000 years across cultures worldwide, the
Imagine creating a musical instrument that not only produces enchanting melodies but also serves as a symbol of your artistic journey.
The ocarina, with its soothing and mystical sound, offers just that. This guide is designed for anyone who wants to delve into the art of creating their own ocarina, blending craftsmanship with musical exploration.
Whether you are a seasoned musician, a hobbyist, or a curious beginner, these steps will guide you through the rewarding process of making a unique, handcrafted ocarina.
Your ocarina’s journey begins with choosing the right clay. Medium-fire clay is the best choice for its excellent balance of workability and durability.
When selecting your clay, consider factors like its firing temperature, texture, and color. This choice will not only impact the final look of your ocarina but also its sound quality and feel.
Shaping the clay into an ocarina is a process that requires both attention to detail and a bit of artistic flair. After kneading the clay to eliminate any air bubbles, start shaping it into an elongated, slightly flattened oval. This shape is traditional for an ocarina and helps produce a clear, melodious sound.
The feel of the clay in your hands, the smoothness of its surface, and the symmetry of the shape all contribute to the final quality of the instrument.
The mouthpiece is where the journey of breath into music begins. Crafting a comfortable and well-shaped mouthpiece is crucial for playing the ocarina.
The size, angle, and smoothness of the mouthpiece will greatly influence the ease of play and the quality of sound. This step requires a delicate balance between aesthetics and functionality.
The sound hole is the voice of your ocarina. Precision in carving a perfectly round hole at the top of the body is critical.
The size and finish of the sound hole will greatly influence the pitch, volume, and clarity of your ocarina’s sound.
Experimenting with different sizes can lead to understanding how even slight variations can dramatically change the sound.
Placing the tuning holes is a step that turns your clay creation into a musical instrument. The size, placement, and number of these holes will dictate the notes your ocarina can play.
This is a meticulous task that may require adjusting the holes several times to achieve the right tuning.
The joy in this step comes from hearing the first sounds your ocarina produces, signaling it is nearing completion.
Once the basic structure is complete, it’s time to refine your ocarina’s shape. This involves smoothing out imperfections, refining the curves, and ensuring the instrument is aesthetically pleasing. This step is where your ocarina starts to have a polished, professional look, ready to be finished and decorated.
The drying process is critical for the stability and durability of your ocarina. This step requires patience as the clay must dry slowly to prevent cracking.
The time it takes can vary depending on the thickness of the clay and the environmental conditions. Proper drying sets the foundation for a strong and resonant ocarina.
Biscuit firing, a crucial step in the ceramic process, transforms your creation from a fragile clay object into a hard, resonant ceramic ocarina.
This process requires careful monitoring of the kiln’s temperature to ensure even heating and to prevent any damage to the ocarina. It’s a transformative moment that signifies the birth of your instrument.
Glazing your ocarina is where you can truly express your creativity. The choice of glaze – glossy, matte, colored, or clear – adds a personal touch to your instrument.
The application of the glaze must be even and careful, as it affects not only the appearance but also the sound quality of your ocarina. This step allows you to put your artistic stamp on the instrument, making it uniquely yours.
The final firing is a moment of excitement and anticipation. This is where the glaze sets and your ocarina achieves its final form.
The kiln’s heat works its magic, bringing out the colors and sealing the instrument.
When you take your ocarina out of the kiln, it’s not just a piece of clay anymore; it’s a musical instrument, a piece of art, and a representation of your skill and creativity.
The process of creating an ocarina is a blend of art, craftsmanship, and music. Each step from selecting the clay to the final firing is an opportunity to pour your creativity and passion into creating something truly unique.
The satisfaction of playing an ocarina that you crafted with your own hands is unparalleled.
As you play your first notes, remember the journey it took to get there – the patience, the skill, and the creativity.
Your handcrafted ocarina is more than just a musical instrument; it’s a personal expression of your artistic journey and a testament to your dedication to the craft.
FAQ 1: Can I Customize the Scale of My Ocarina?
Absolutely! The scale of your ocarina depends on the number and placement of the tuning holes. While the standard is a diatonic scale, you can experiment with different scales like pentatonic or chromatic. This customization allows you to create an ocarina with a unique musical character.
FAQ 2: How Long Does It Take to Master Playing the Ocarina?
The time it takes to master the ocarina varies based on your musical background and practice routine. Generally, the basic techniques can be learned within a few weeks, but like any instrument, mastering it requires regular practice. Start with simple tunes and gradually move to more complex pieces.
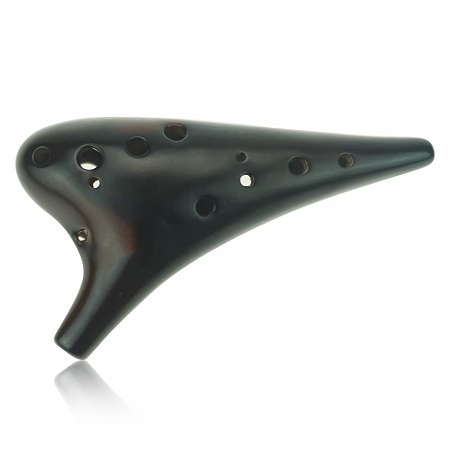
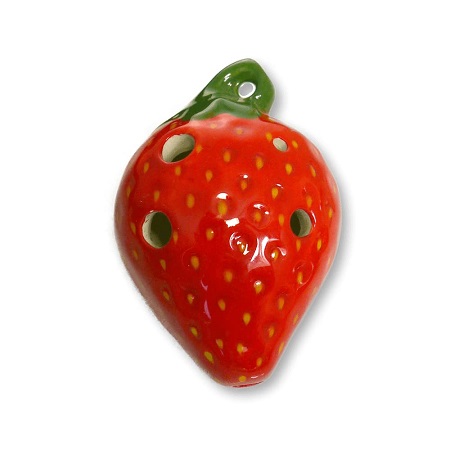
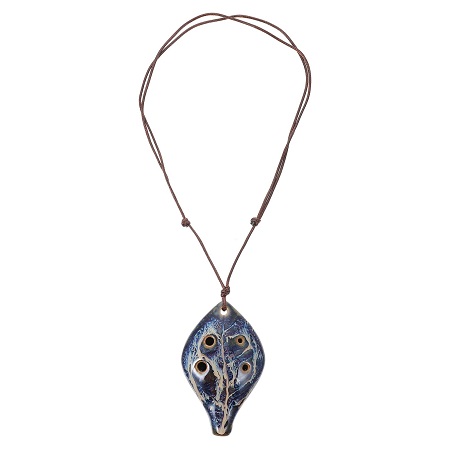
FAQ 3: Are There Different Types of Ocarinas Besides the Standard Shape?
Yes, ocarinas come in various shapes and sizes, each offering a different sound and playing experience. The most common types include the transverse, pendant, and sweet potato ocarinas. Each type has its unique charm and playing style.
FAQ 4: Can I Repair My Ocarina If It Gets Damaged?
Minor cracks or chips in an ocarina can often be repaired using ceramic or epoxy glue. However, significant damage might affect the sound quality. It’s important to handle your ocarina with care, as repairs can be tricky and might not always restore the original sound.
FAQ 5: What’s the Best Way to Store and Maintain My Ocarina?
To maintain your ocarina, keep it in a dry place away from extreme temperatures. Avoid exposing it to direct sunlight for prolonged periods. It’s also a good idea to store it in a padded case to protect it from dust and accidental drops. Regular cleaning with a soft, dry cloth will keep it in good condition.